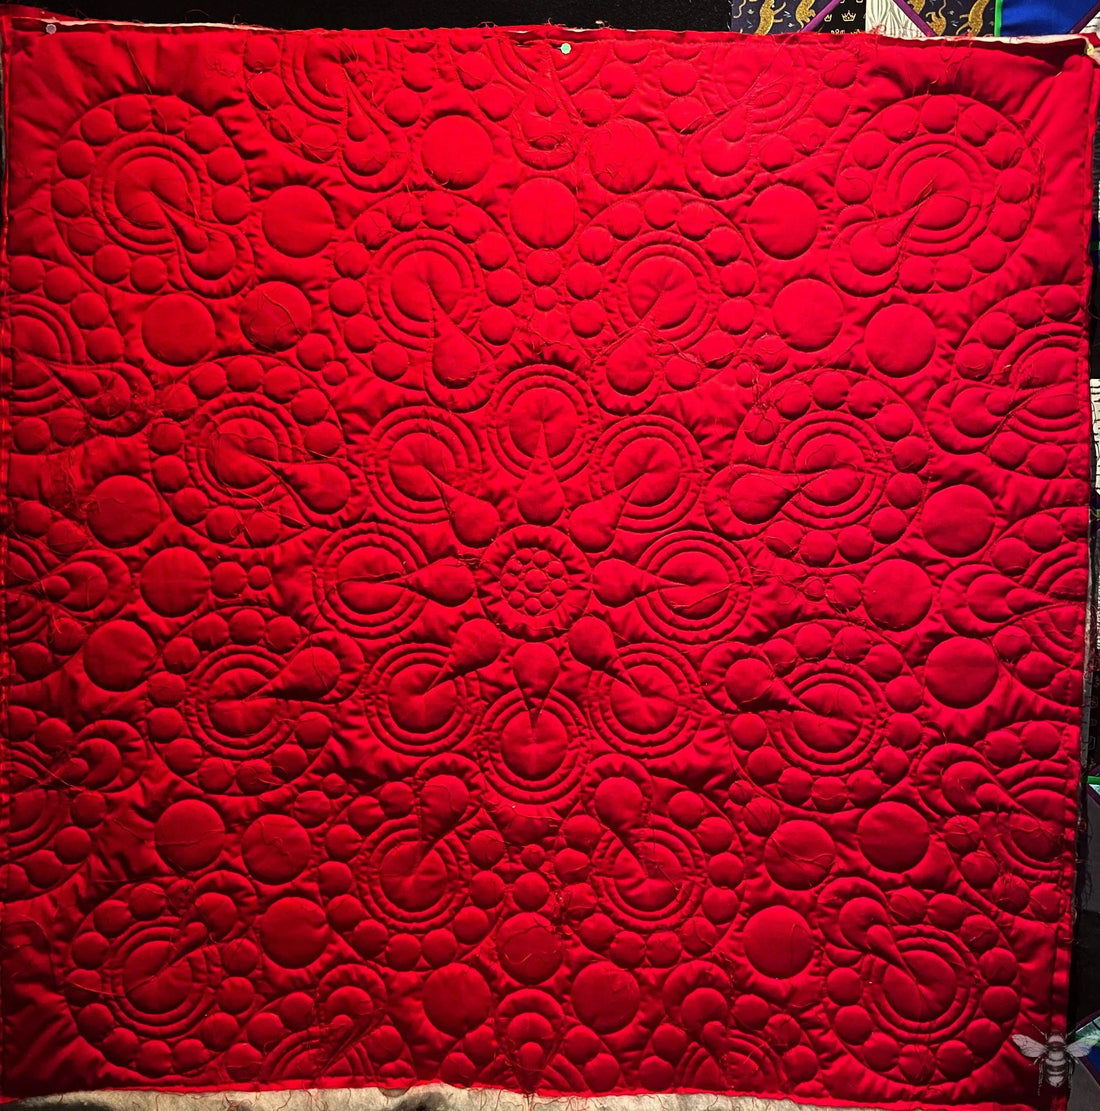
Ruler quilting check list for todays's modern quilters.
I do a lot of ruler work quilting. I see a lot of common problems on the Internet when people try to use rulers with their domestic machine, and I thought that I would write a post about my tips and tricks for ruler work for quilting, especially on a domestic machine.
1 Adjust your seat
Many people complain about back pain when ruler quilting, I raised my seat, so that it slightly below the level of the table, and I’m leaning over my ruler of work. I find that it saves my back.
2 Baste your sandwich very well
Make sure that you really based your quilt sandwich very well, whether that’s using pins, thread or spray, glue. Thread, and pins should be no more than three fingers apart. About 2 inches and spray. Glue should be well glued. You do not want to have any room for your quilt to shift while ruler quilting.
3 Use a ruler foot
Make sure you have the appropriate ruler foot for your machine. There are high and low shank machines, you can measure your machine by following the instructions.
- Lower the presser foot completely flat.
- Using a ruler, measure from the base of the foot to the center of the presser foot thumb screw.
- If the shank is 075″ or 0.5″ or below, you have a low shank sewing machine.
- For shanks measuring 1″ and more, it's a high shank machine.
4 Make sure you have the right rulers for your machine
Once you have determined what ruler foot, you need, make sure you buy the appropriate rulers for your ruler foot. There are 1/8 of an inch rulers, and there are 1/4 of an inch rulers
5 Have appropriate needle
Make sure you are using the appropriate needle for the thread that you are going to be using to be doing your quilting.
from Aurifill:
- 12wt: 100/16 or 90/14 Topstitch needle, 4.5 Longarm needle
- 28 wt: 90/14 Topstitch, Quilting or Denim needle, 4.5 longarm needle
- 28wt: 90/14 Topstitch, Quilting or Denim needle, 4.0 Longarm needle
- 40wt: 80/12 Microtex/Sharp, Universal or Denim needle, 4.5 Longarm needle
- 50wt: 80/12 Microtex/Sharp, Universal or Denim needle, 4.0 Longarm needle
- 80wt: 70/10 or 80/12 Microtex/Sharp or Embroidery
- Wool: 90/14 Topstitch needle, use the largest longarm needle possible
- Polyester: 80/12 Microtex/Sharp, Universal or Denim Needle, 3.5 or 4.0 longarm needle
- Monofilament: 80/12 or 70/10 Topstitching or Microtex/Sharp needle
6 Adjust your ruler foot
Your ruler foot should be no higher from the fabric then the thickness of a credit card. If you find that you’re skipping stitches. This is usually the problem pull out your credit card or bank card and adjust the height of the foot so that it just hovers above the fabric, the thickness of that credit card.
7 Go slow around corners on a domestic
One of the biggest problems, new ruler. Work quilters have is eyelashes. To avoid this. Make sure that you’re going to go very slowly around curves we have a tendency of wanting to rush around curves and this is usually the cause of eyelashes.
8 Use a needle to pull your thread up.
I use an old dull sewing machine needle to help me pull up my threads at the end of a Quilting Line.
9 Use tweezers
To avoid sticking your fingers directly under the ruler foot, I always have a pair of tweezers that I keep beside me along with my snips and my dull needle to help me pull the threads up.
10 Clean your rulers.
Clean your rulers. Rulers have a tendency of getting a little scratched up overtime and use acrylic boat polish just polished the scratches up. It’s easier to see your mark lines when you have a nice polished ruler
Comments
Check out comments or add a new one.