How to Thread a Needle: Tips and Tricks for Seamless Sewing
Threading a needle can sometimes feel like a daunting task, but with the right techniques and a little practice, you can make it a breeze. Whether you're sewing by hand or preparing your sewing machine, understanding how to properly thread a needle is essential. In this post, we'll explore some useful tips, including the unique design of needles and how moisture can help.
Understanding Needle Design
Before we dive into the threading process, it's important to understand how needles are constructed. Needles are punched with a small hole called the "eye." This eye is designed in such a way that the thread can only enter from one direction. This means that when you're threading your needle, you need to ensure that the thread is approaching the eye correctly.
Tip: Check the Needle's Orientation
When you're ready to thread your needle, hold it so that the eye is facing you. This will help you align the thread properly and avoid any frustration.
The Benefits of Moisture
One of the simplest yet most effective tricks for threading a needle is to use moisture. Wetting both the eye of the needle and the thread can significantly ease the process. Here’s why:
- Reduced Friction: Moistening the thread helps it slide through the needle's eye more easily, reducing friction that can cause snagging.
- Stiffening: A slightly damp thread becomes stiffer, making it easier to guide into the needle’s eye.
How to Wet Your Thread
You can wet your thread by either:
1. Dipping it in Water: Just a quick dip will do.
2. **Using Your Lips**: A gentle lick can also work wonders.
3. Applying a Small Amount of Fabric Softener: This can help if you're working with particularly thick or fuzzy threads.
Step-by-Step Guide to Threading a Needle
Now that you understand some key concepts, let’s break down the steps for threading a needle:
1. Gather Your Materials
- Needle (hand-sewing or machine)
- Thread (appropriate for your project)
- Scissors (for cutting the thread)
- Optional: A needle threader for added convenience
2. Cut Your Thread
Cut a length of thread that's manageable—typically around 18 inches is ideal for hand sewing. Make sure your cut is clean; frayed ends can make threading more difficult.
3. Moisten Your Thread
As mentioned earlier, wet both the eye of the needle and the end of your thread.
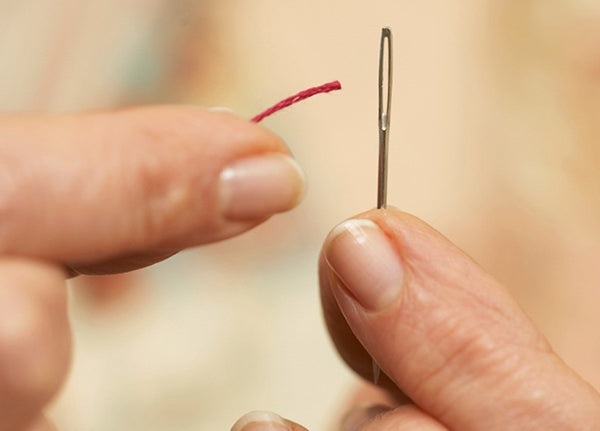
4. Position Your Needle
Hold your needle steady with one hand while using your other hand to guide the thread toward the eye.
5. Insert the Thread
Carefully push the end of the thread through the eye from the correct direction (the side facing you). If you're having trouble, try gently twisting or rolling the end of the thread between your fingers.
6. Pull Through
Once you’ve successfully threaded it through, pull enough thread through so you have a tail to work with—usually about 6 inches.
Additional Tips for Success
- Use a Needle Threader: If you find it particularly challenging to thread needles, consider investing in a needle threader. These handy tools make it easy to insert your thread without hassle.
- Choose the Right Needle: Ensure that you’re using an appropriate needle for your project. Different types of needles have different sized eyes, which can affect how easily they can be threaded.
- Practice Makes Perfect: Don’t be discouraged if it takes time to master threading a needle! Like any skill, practice will improve your technique and confidence.
Threading a needle doesn’t have to be an intimidating task. By understanding how needles are designed and utilizing simple techniques like moisture, you can streamline this process significantly. With these tips in mind, you'll be ready to tackle any sewing project with ease! Happy sewing!
Sources
Comments
Check out comments or add a new one.